Fashion & Skin Retouching Using Micro Dodge And Burn Photoshop
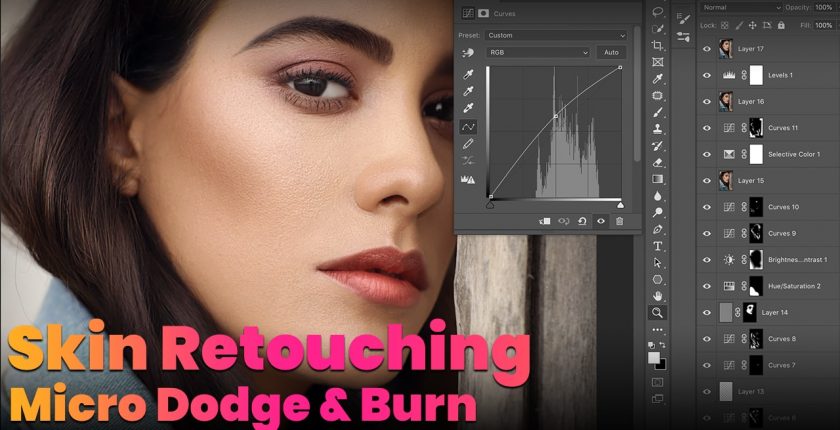
Micro Dodge and burn in Photoshop is nothing but creating highlights and shadows in photos. But micro dodge and burn is a little bit different in skin retouching. here concept is same but in this case micro dodge and burn will be used for face and skin retouching especially. Fashion Photography retouching is little but different from normal retouching. In fashion skin originality is main concern see Fig 1.1. There are some rules of skin retouching in photoshop.
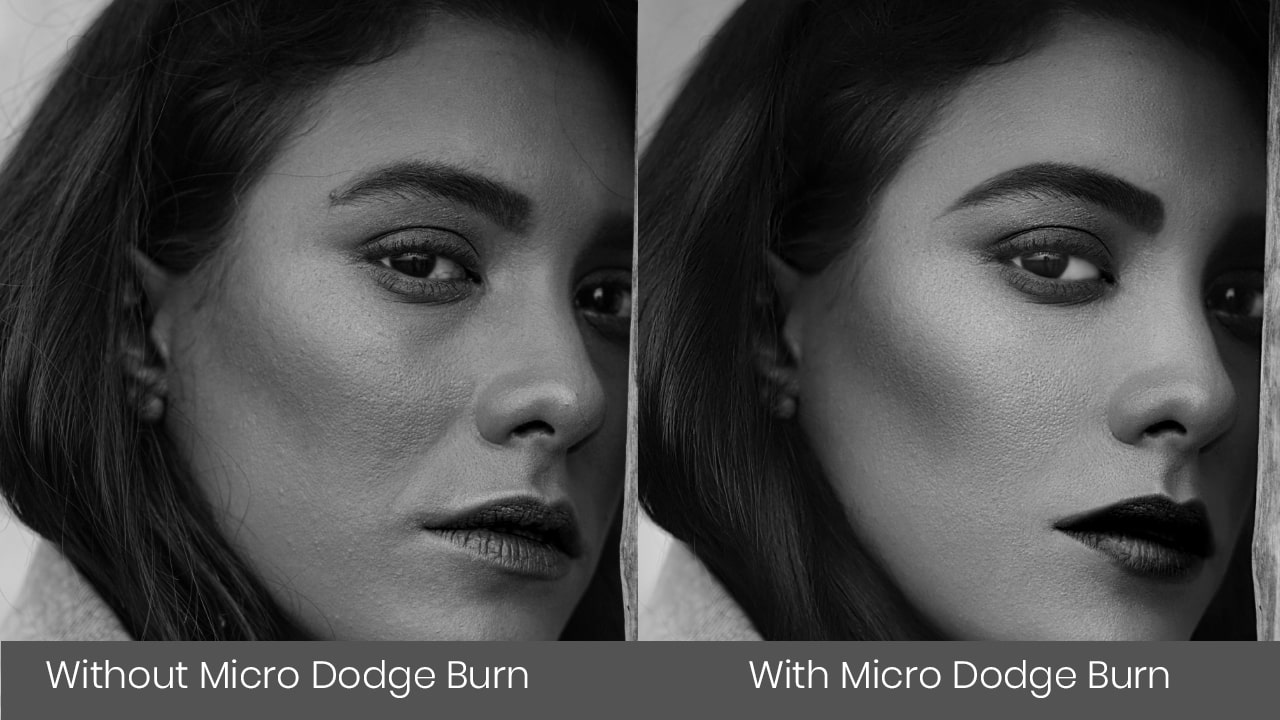
You have listened about the frequency separation photo retouching. In this retouching technique of photoshop one main problem is, most of the time we lose facial originality, skin pores, skin texture. Skin looks like plastic and over edited. There is no solution to rectify skin texture, pores in frequency separation. We will discuss frequency separation skin retouching technique later in upcoming articles of photoshop cc 2020.
In Fashion and skin photography retouching it is important to understand customer needs and maintain the originality of skin as shown in fig 1.1. Now come to the point, Micro Dodge and burn in photoshop is used to retouch skin and speciality of this method is that it maintain the features of skin like skin Pores, Texture, Details. When we working on professional work means we working for beauty and fashion skin retouching these points ( originality of skin ) are main. In Micro Dodge and burn, this is used to maintain the shape of the light using ractifying highlight and shadow on the face at micro level.
How to use Micro Dodge and Burn Photoshop for Skin Retouching
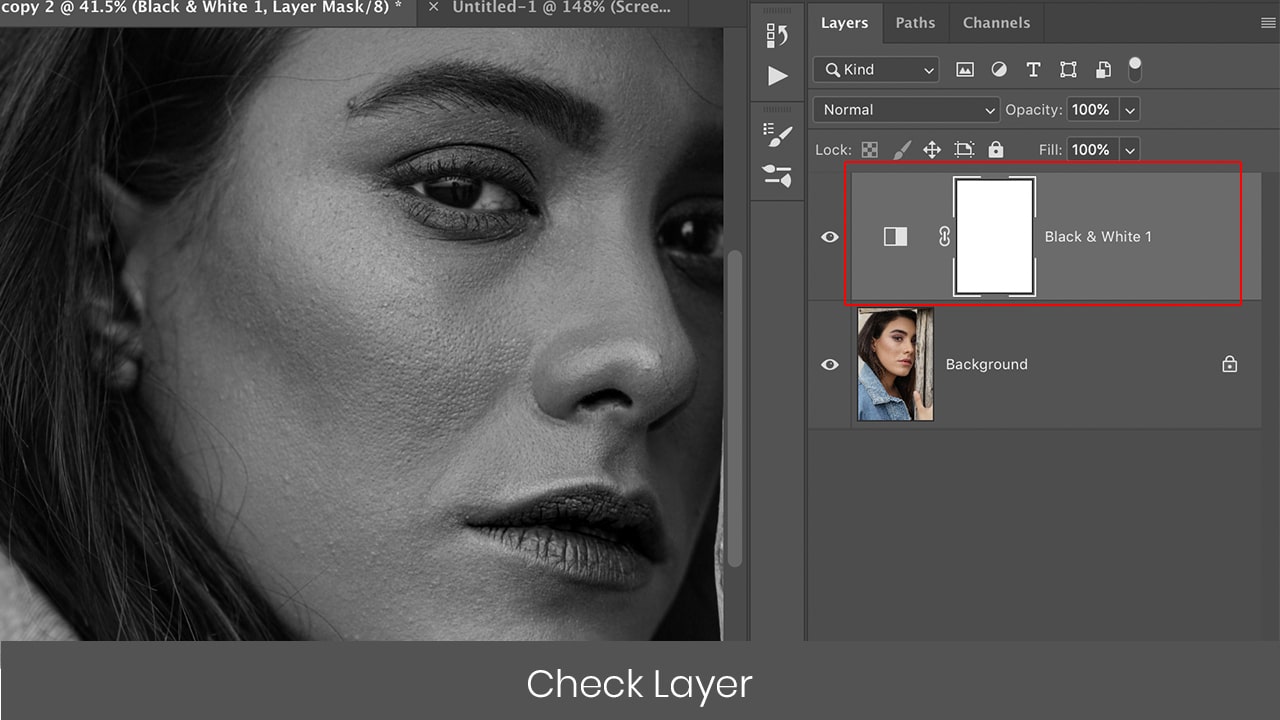
Open a fashion photo in photoshop. Read article for the complete steps for Fashion and Skin Retouching in Photoshop. In skin retouching this is very important to work with check layers Fig 1.2 Check layer is nothing to use but is just used to analyse the skin shadow and highlight on the face properly. So take a new check layer by using a blank and white adjustment layer.. Adjust the red and yellow slider on black & white adjustment layer accordingly so that we are able to see the blemishes and shadows and highlight on the face properly.. Firstly Remove the blemish, redness, pimples by analysing the check layer and using a healing brush and patch tool whichever you like to use But patch tool is my fav tool and it works properly on face.
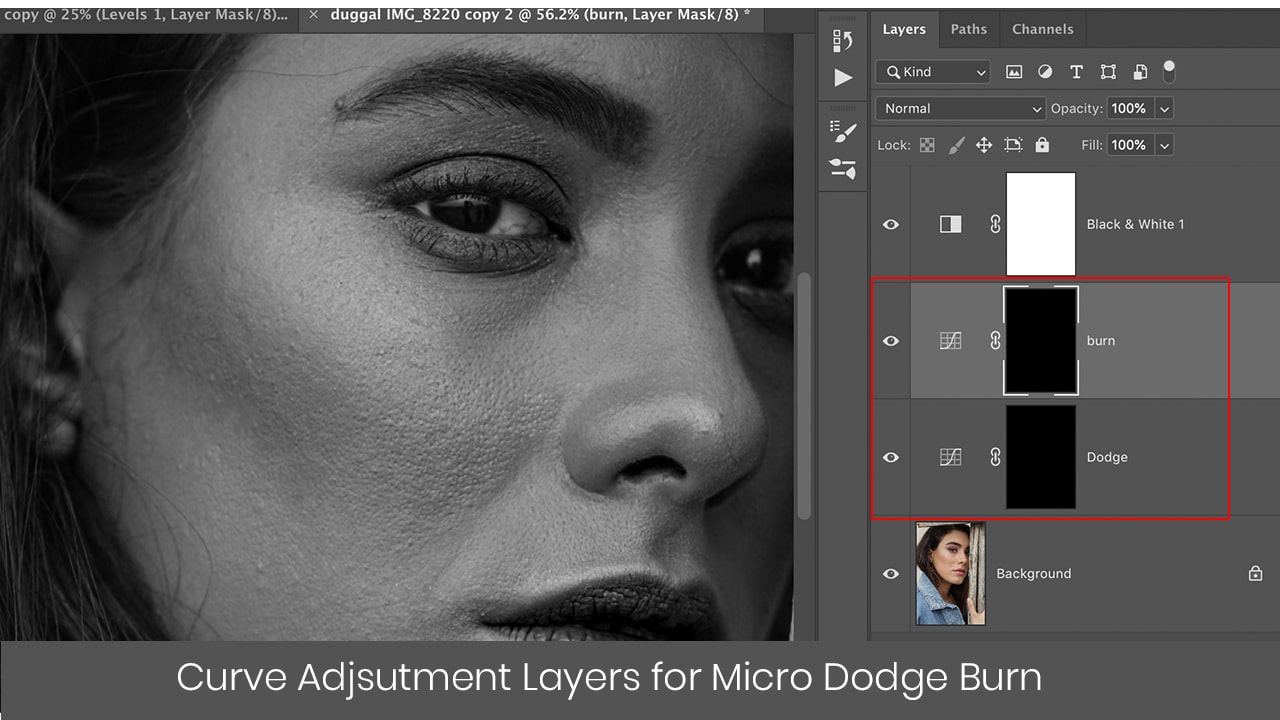
Now take 2 new Curve adjustment layers upon the background layer and underneath the black and white adjustment layer fig 1.3. Rename it to Micro dodge and burn Photoshop accordingly. Now on the dodge curve adjustment layer. Move the diagonal line of the curve tool to the upper side. You get light on the photo. Open burn adjustment curve layer and move the diagonal line to bottom. Convert the photoshop mask in both adjustment layers to black by pressing Ctrl+i .Effect of both adjustments layers will be no more.
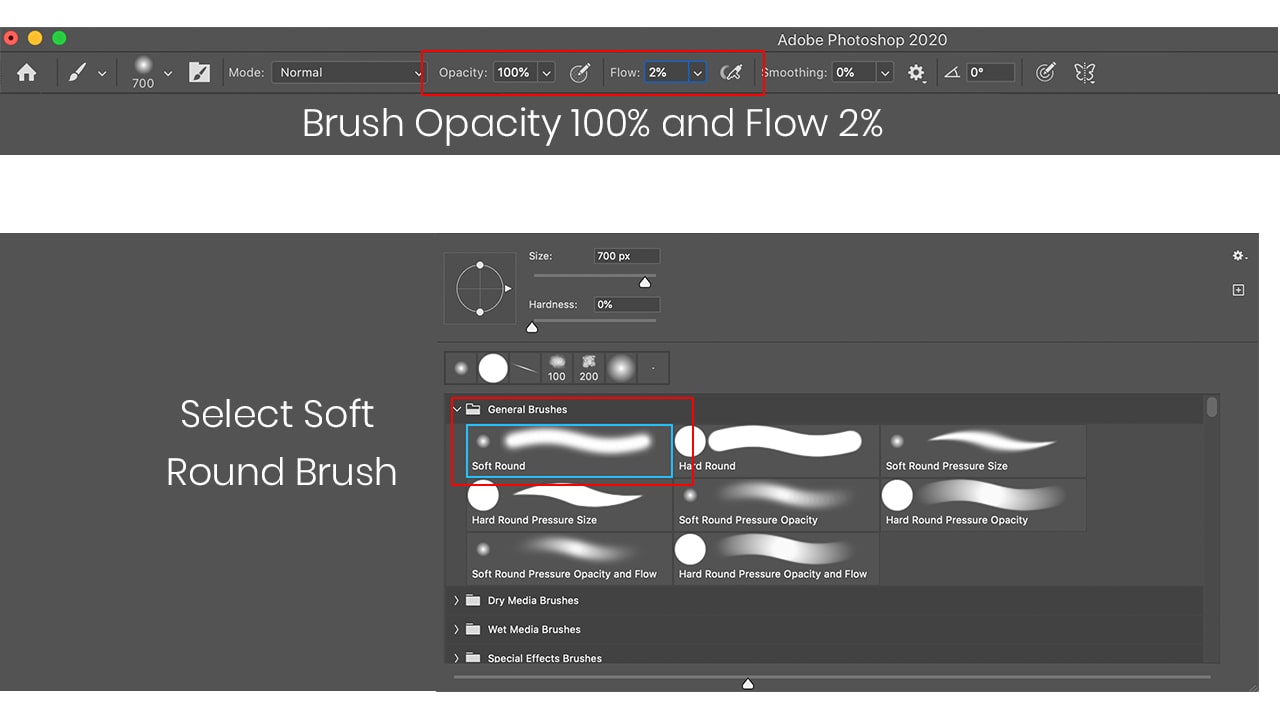
Now take a simple soft round Photoshop brush. Brush setting should be Like this, opacity is 100% and flow should be 2%. This setting is very important to get proper use of micro dodge and burn Fig 1.4
Check layer should be active on the top of the curve adjustment layers. Analyse the skin properly and apply a brush brush on the dodge Curve adjustment layer’s black mask. It takes a lot of patience to get the proper use micro dodge and burn. Apply wherever to adjust the shadow on the face. One important point is to always make sure the image should be zoomed so that highlight and shadow can be analysed properly.
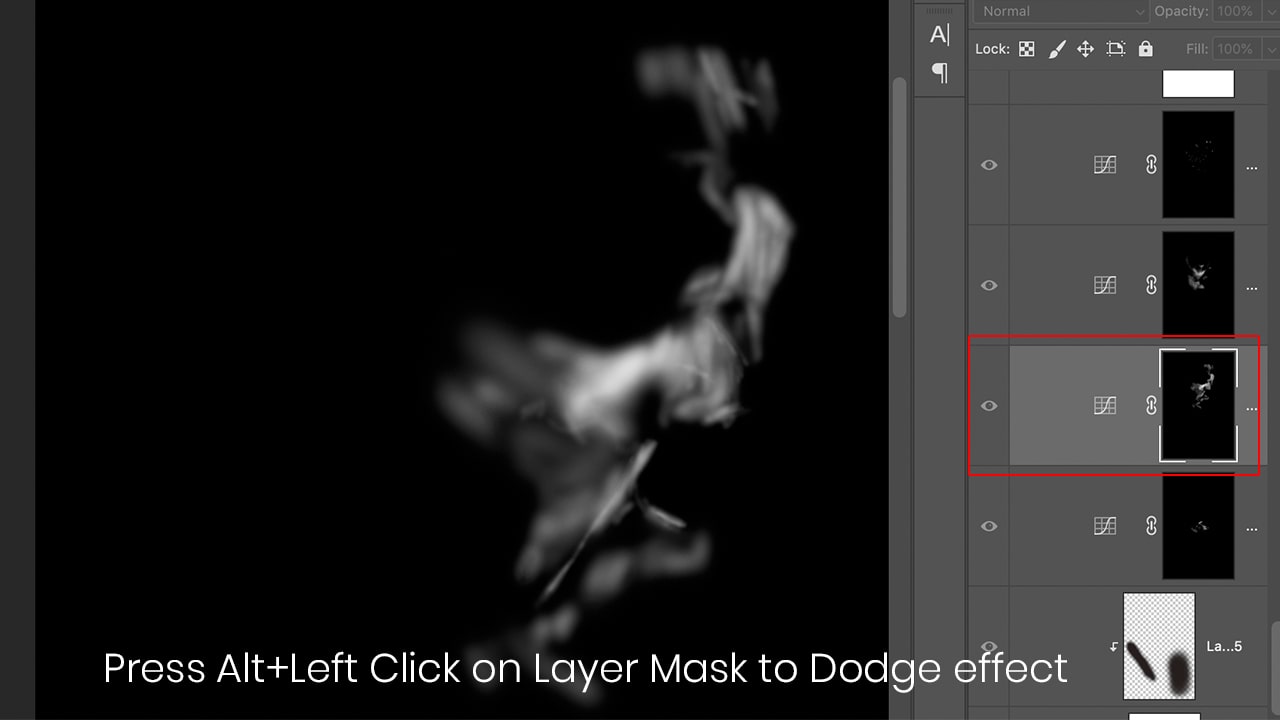
Do the same process on the burn adjustment layer to rectify the highlight on the face. You have to apply brush over and over on the dodge and burn adjustment layer accordingly to rectify skin. To check layer mask what you have done. Just press Alt+left click on layer Mask of dodge adjustment layer as shown in fig 1.5
You can download the Micro dodge and burn Action and check layer Action from the given link below.
