Fashion & Beauty Photo Retouch Workflow in Photoshop
In the field of Photoshop photo retouching Field to get professional Result you must follow Arunz Creation Retouching Workflow. In Photo Retouching Workflow you should use and follow the steps by which you will get professional photo results. These Photoshop tools as below.
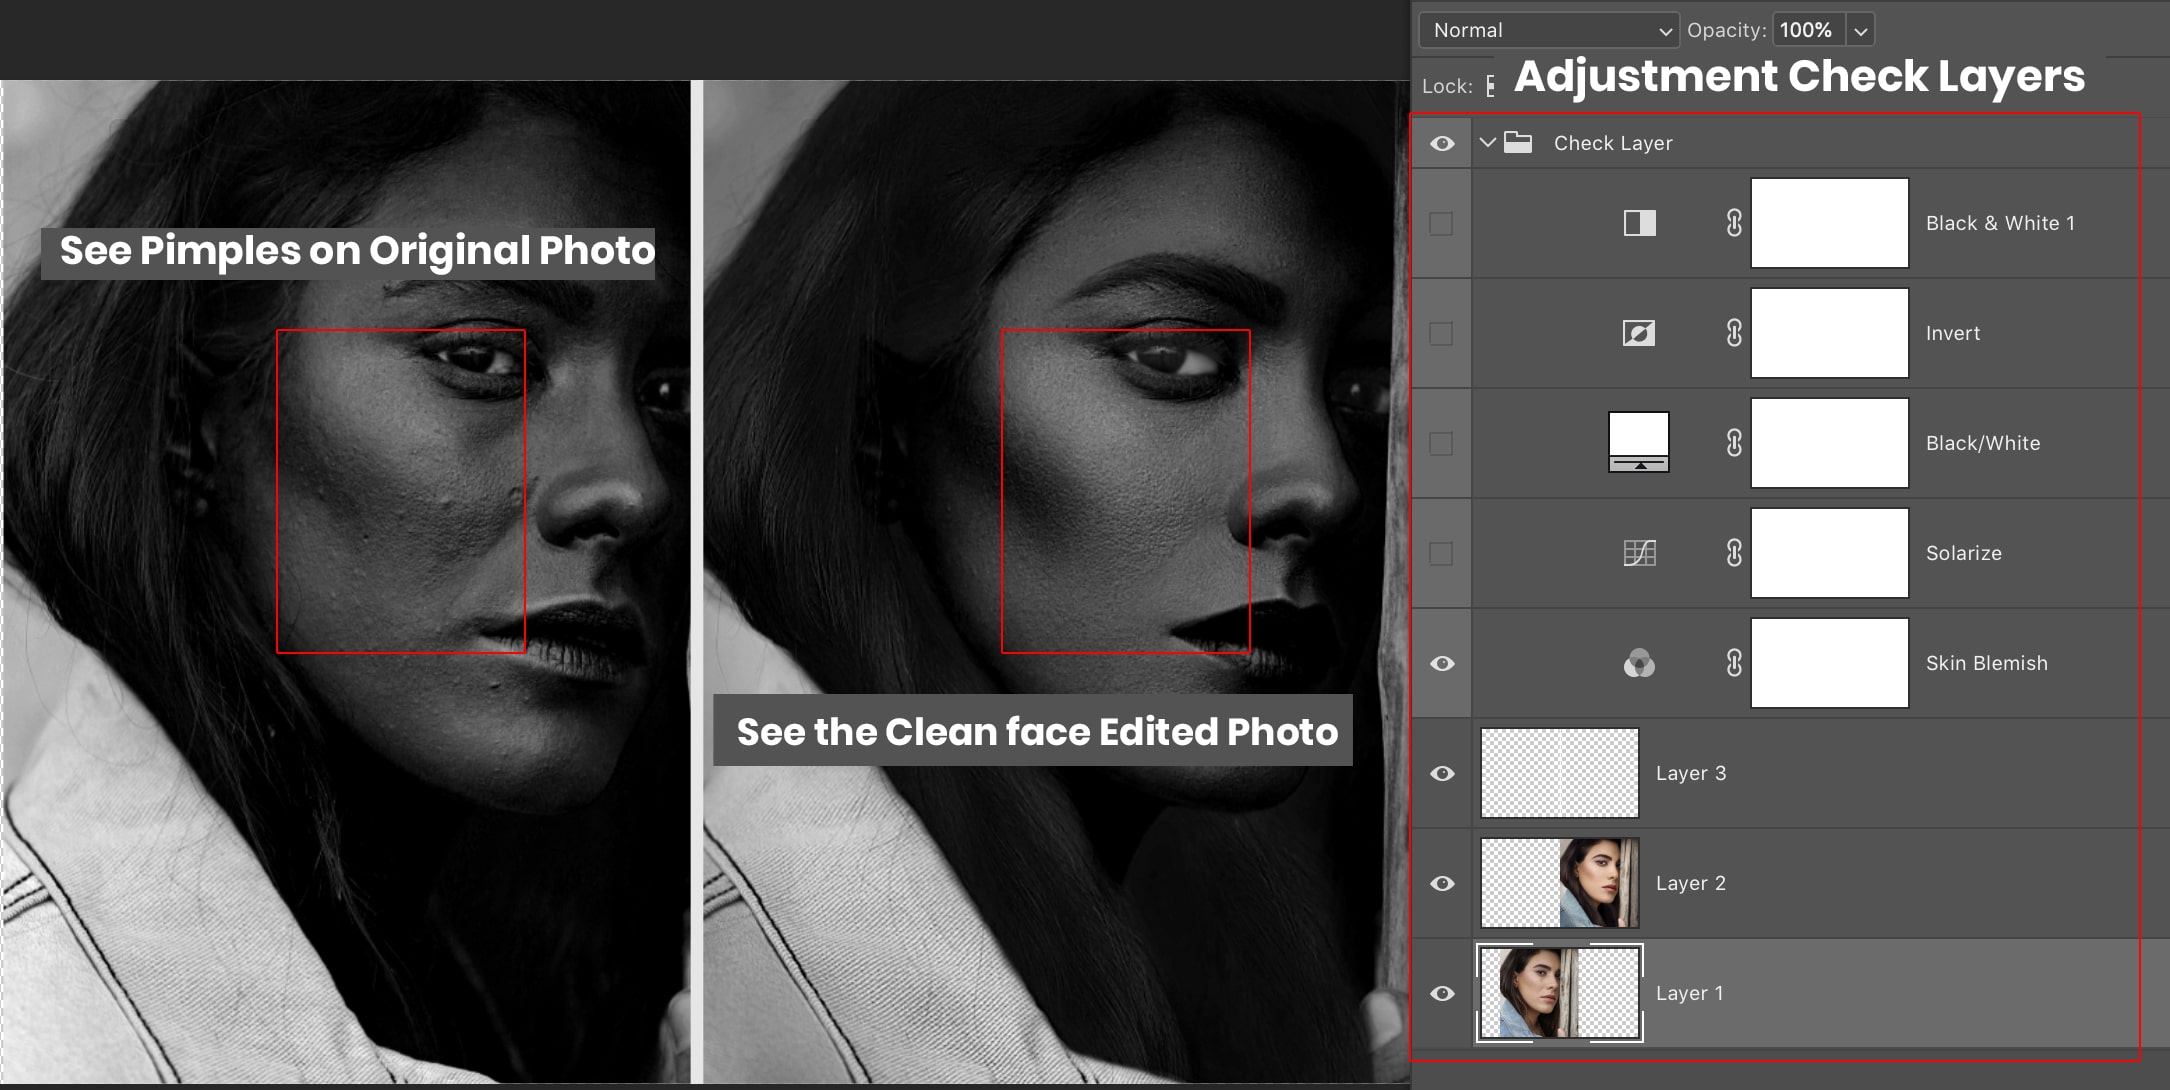
1. Photo Analysis with check Layers
This is a technique by which you will to find blemishes on face see Example Below
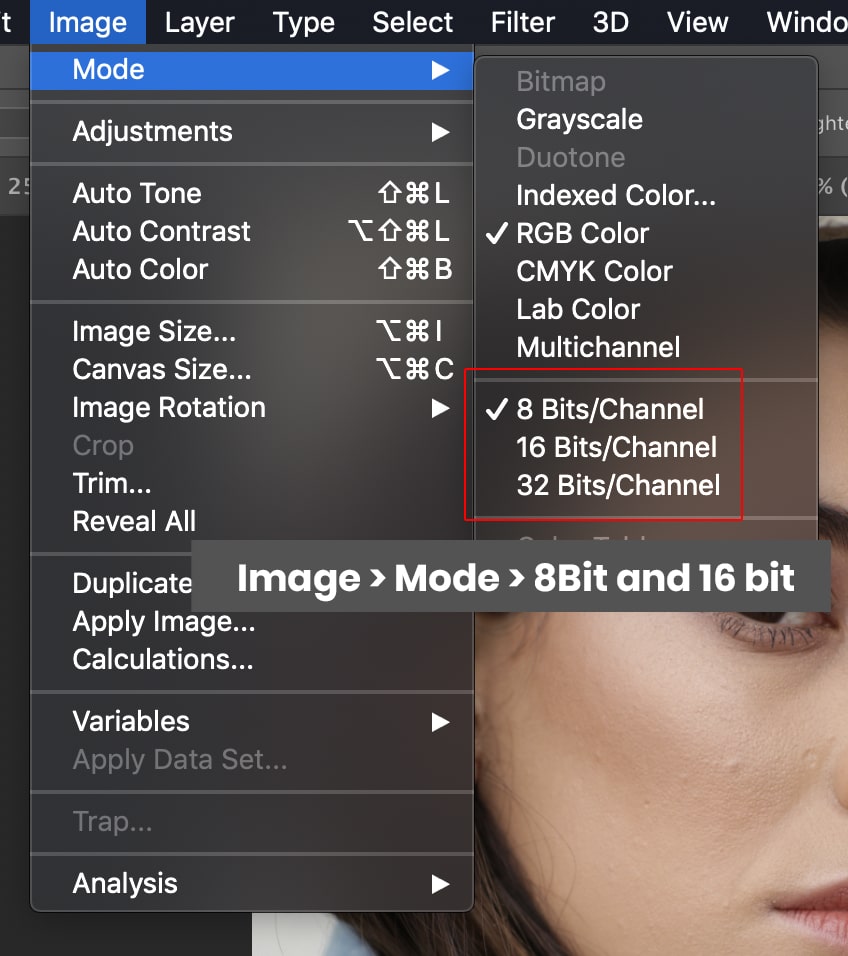
2. Find the bit value of the photo
This is very important to know what is the Bit value of the image. these 8, 12,16 Bit raw file. See Example as below
3. Remove the Blemish and Pimples with Path Tool, Healing Brush tool, Clone Stamp tool
By applying check layers now you can remove the pimples and blemishes on face
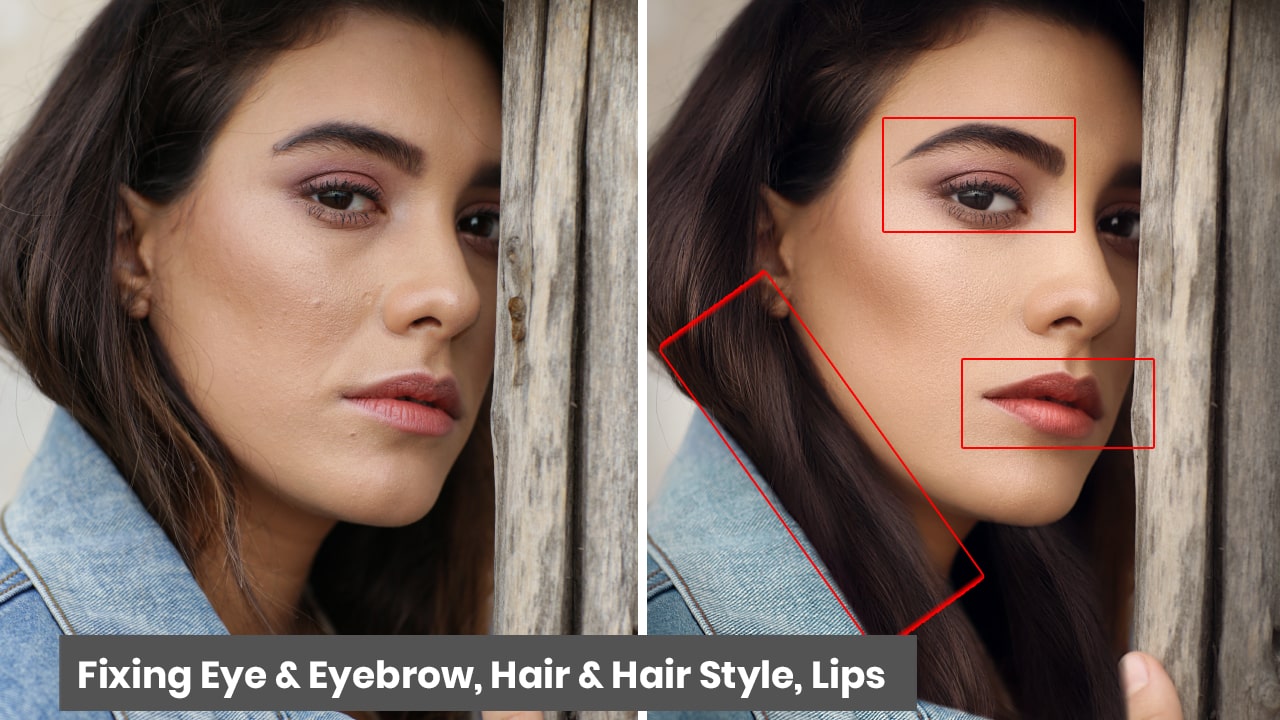
4. Fixing Hair, Eye, EyeBrows with Path, clone Stamp, Layer, Liquify tool
This is very important to remove the imperfection in photo retouching.
5. Fixing or changing the background
This may be your personal choice to change the background or not. its depend on the Photo to photo.
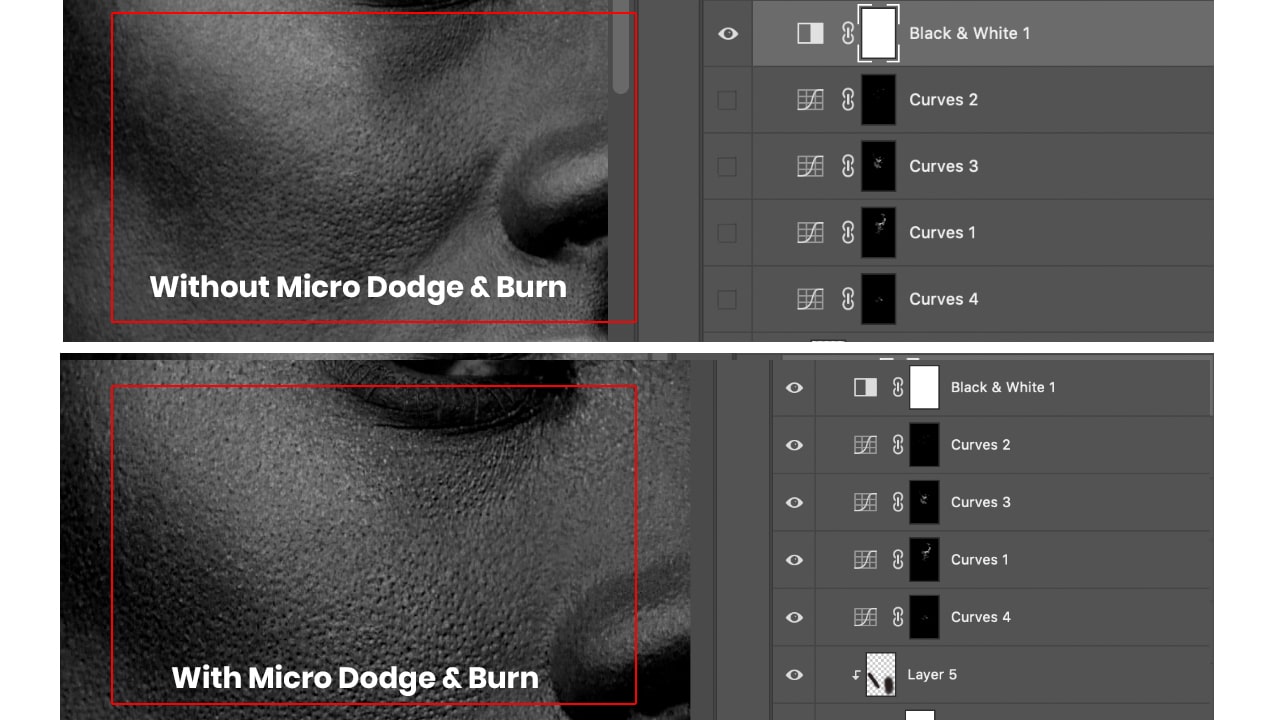
6. Micro Dodge and Burn with Adjustment Layers.
This step is very important in Photo Retouching. Check the Photo Below.
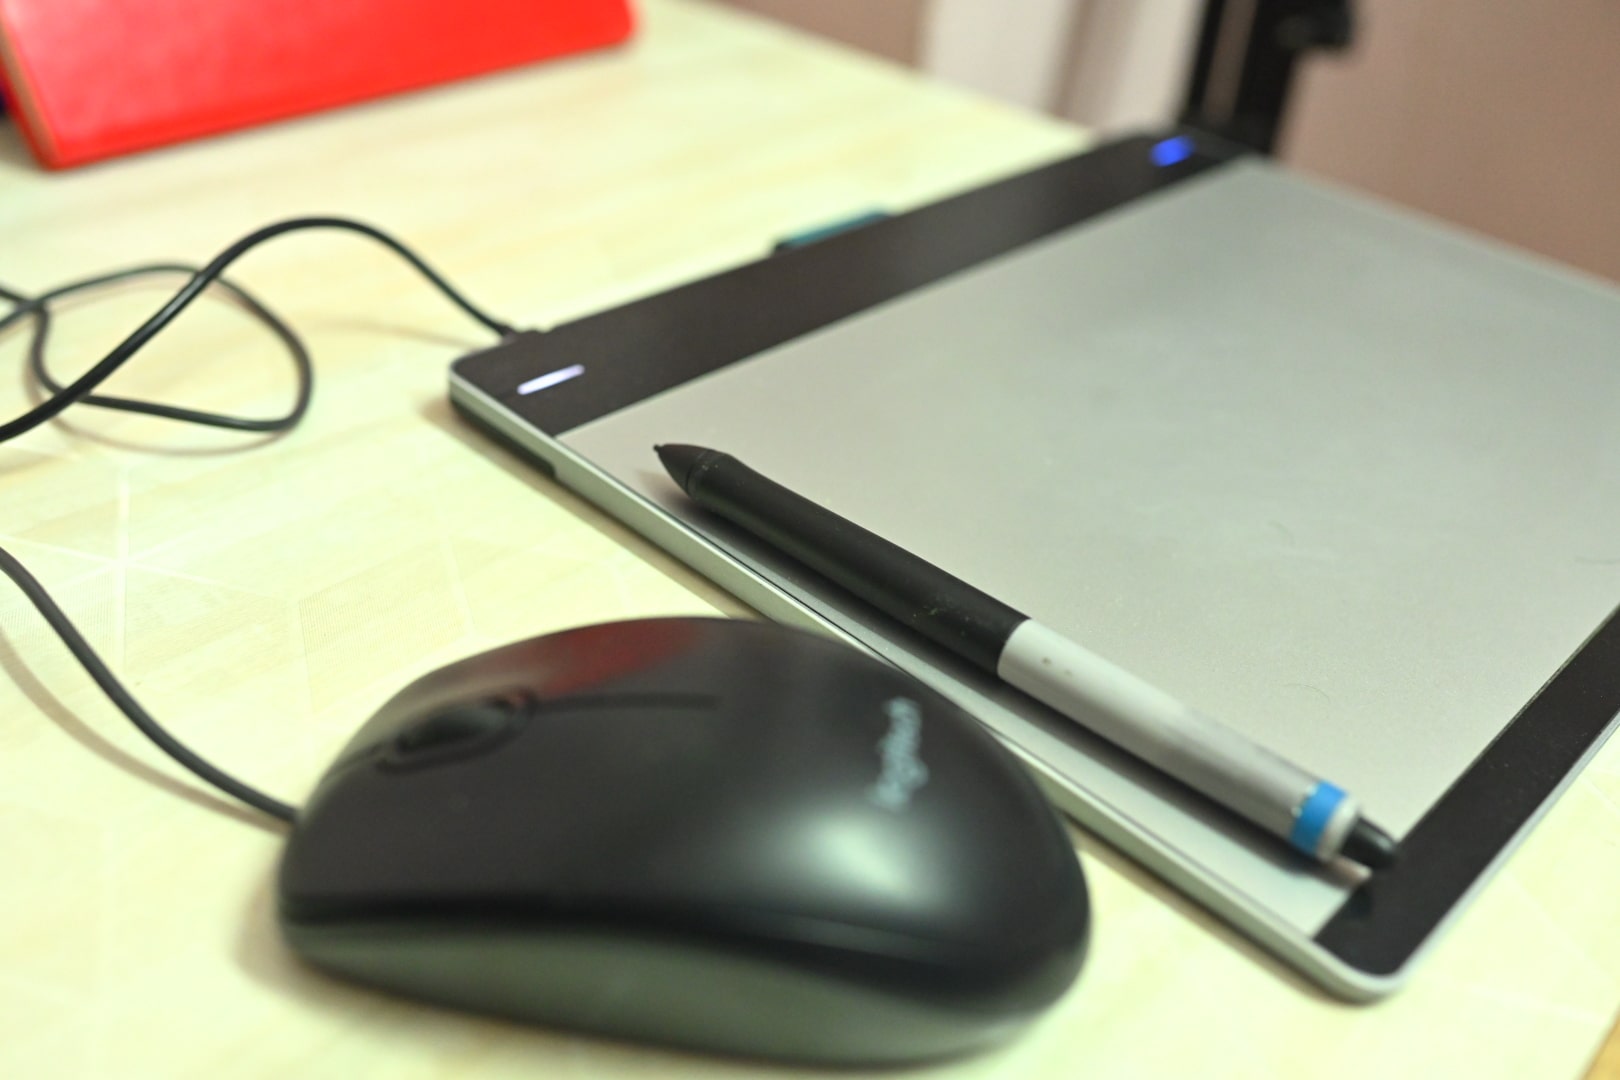
7. Controlling the Brush stroke of Brush, Mixer Brush, Eraser tool with Mouse and Wacom tablet
This is very important that what type of mouse you are using. mouse should be of proper size that your palm can hold properly. avoid the large and very small size or Use Wacom Tablet instead of mouse.
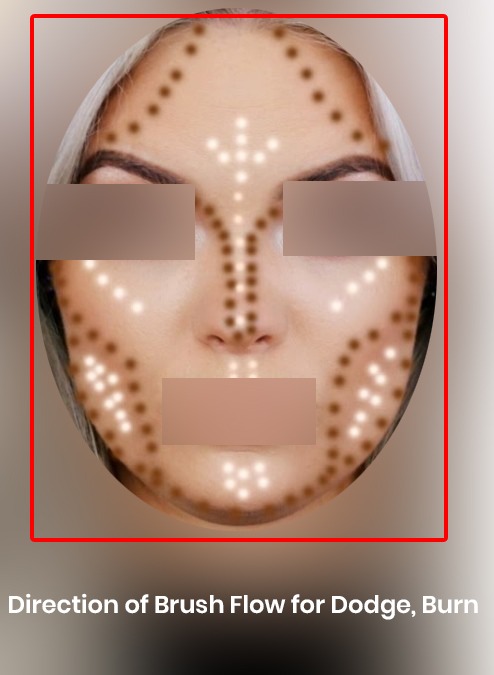
8. Understanding the contour and Highlight in Facial makeup
This is very important. most of the photo editor fails at this step. see the photo apply the brush stroke as per direction in the photo.
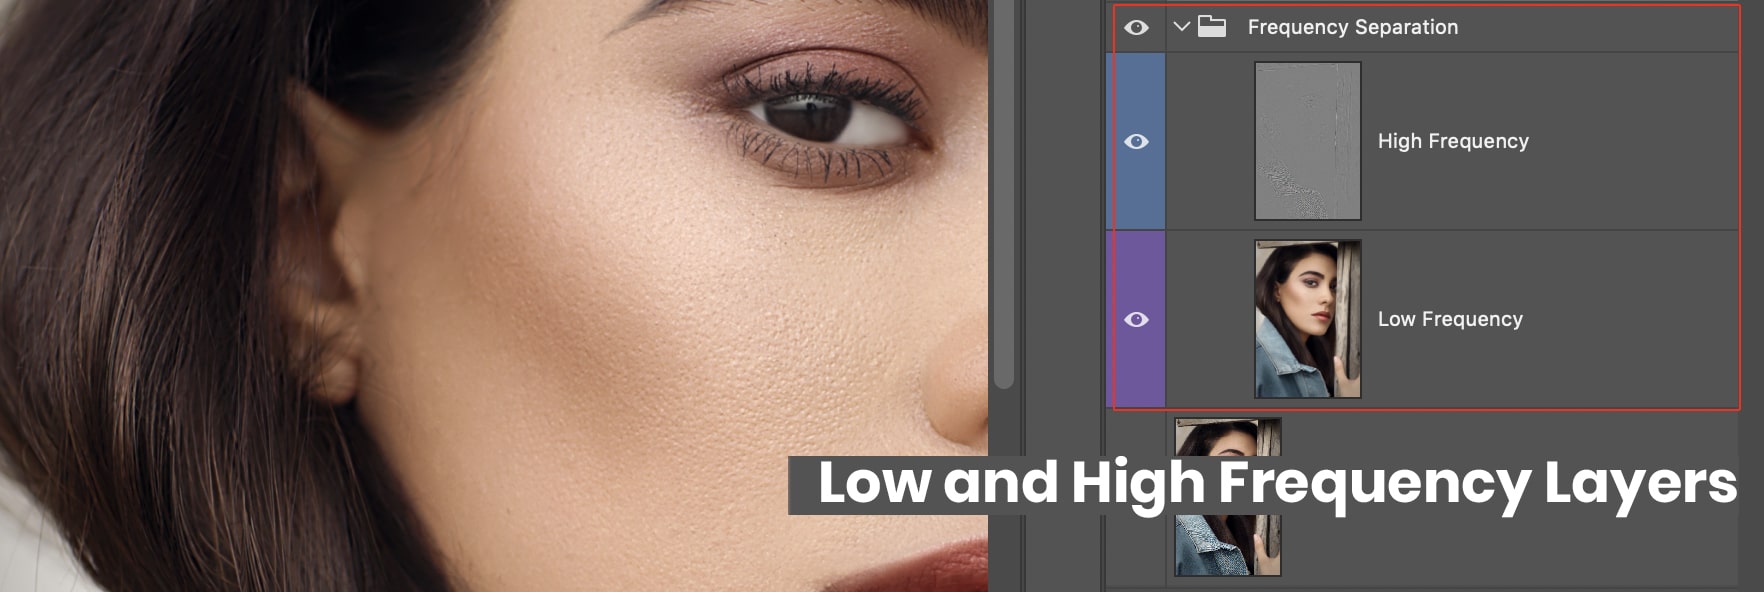
9. Frequency Separation with Photoshop Layers and apply image Command
Frequency separation is the way by which your separate the low Frequency and High Frequency. means texture and face color on 2 separate layers
10. Dodge and Burn with Curve Adjustment Layers
Creating of shadow and Highlight on face using Dodge and Burn Techniques and follow the brush as show in previous steps

11. Color Correction with Adjustment Layers
Color Correction is very important to get perfect color of any photo in Photoshop. In Photoshop several tools you can use to correct skin tone. but focus on selective Color Adjustment Layer and Color Balance is one of the fav tools of Arunz Creation. you can use any tools in which you are comfortable to get perfect Colors
