What Is Lift Gamma Gain In Davinci Resolve 18
In DaVinci Resolve, the Lift Gamma Gain (LGG) is a color correction tool that allows users to make adjustments to the brightness, contrast, and saturation of the colors in their footage. The tool is based on the primary color correction controls used in the film and video industry, which are Lift, Gamma, and Gain.
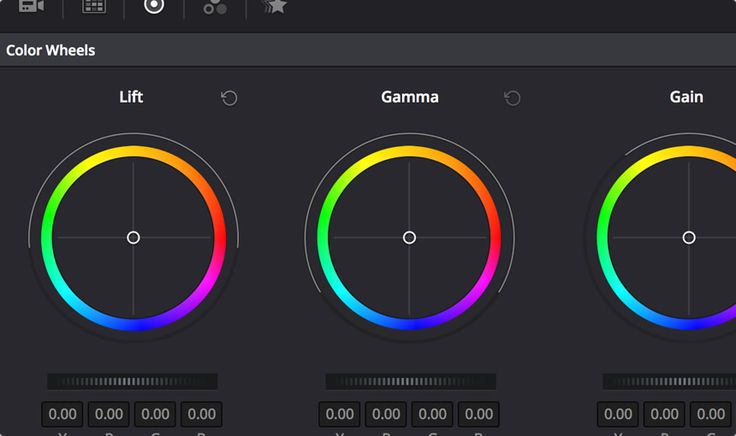
Lift: This control allows you to adjust the overall brightness of the image. It works by adjusting the black level of the image, which can be useful for brightening up dark footage or for creating a specific look.
Gamma: This control allows you to adjust the mid-tones of the image. It works by adjusting the contrast of the image, which can be useful for bringing out details in the shadows and highlights or for creating a specific look.
Gain: This control allows you to adjust the saturation of the image. It works by adjusting the overall color intensity of the image, which can be useful for adding more punch to the colors or for creating a specific look.
The LGG controls can be used individually or together to achieve a wide range of looks. They can be used to correct color errors, match the colors in different shots, or create a specific look for a project. They can also be used in combination with other color correction tools, such as the RGB Curves, to achieve even more precise adjustments.
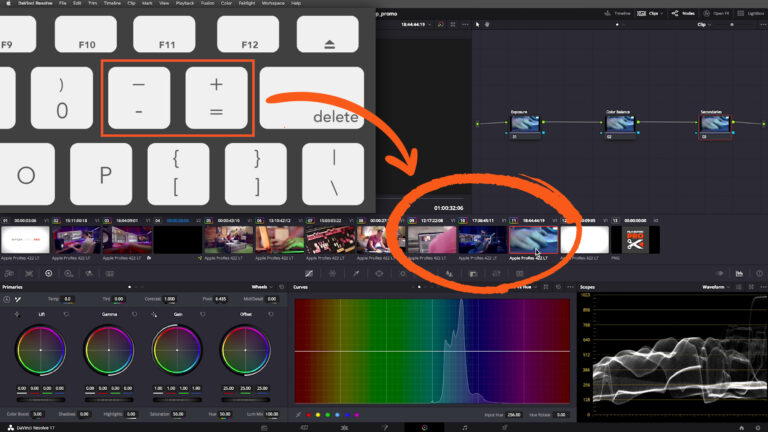
It’s worth noting that the LGG controls can be found in the color tab, in the color correction section, and can be applied to the entire clip or to a specific node, allowing the user to have more granular control over the color adjustments.
In conclusion, the Lift Gamma Gain controls in DaVinci Resolve are a powerful and versatile tool that can be used to make precise adjustments to the brightness, contrast, and saturation of the colors in your footage. They are a fundamental tool for any colorist or video editor who wants to achieve a professional-looking color grade.
“what is RGB mixer in Davinci REsolve 18 “
The RGB Mixer tool in DaVinci Resolve 18 is a powerful color correction tool that allows users to make adjustments to the red, green, and blue channels of an image separately. This allows for a high degree of precision and control over the final look of the footage. The RGB Mixer can be found in the Color tab, under the Color Correction section.
One of the main advantages of the RGB Mixer tool is that it allows users to make adjustments to specific color channels in the image, which can be useful for correcting color errors or creating a specific look. For example, if the footage has a yellow color cast, you can use the RGB Mixer to adjust the green and blue channels to remove the yellow cast.
The RGB Mixer tool also allows users to make adjustments to the overall brightness and contrast of the image. By adjusting the red, green, and blue channels separately, you can achieve a greater level of control over the final image.
Another advantage of the RGB Mixer tool is that it can be used to create unique and stylized looks for your footage. By adjusting the color channels in specific ways, you can create a wide range of different looks, from vintage film to futuristic sci-fi.
The RGB Mixer tool in DaVinci Resolve 18 also has a link to Photoshop channel, where the colorists can use the same principles and techniques of Photoshop channel adjustment in a video editing software. Both tools allow to adjust the color balance and color correction by manipulating the red, green, and blue channels separately.
In conclusion, the RGB Mixer tool in DaVinci Resolve 18 is a powerful color correction tool that allows for a high degree of precision and control over the final look of the footage. It can be used to correct color errors, create a specific look, and achieve a greater level of control over the overall brightness and contrast of the image. It’s a useful tool for professional colorists and videographers who want to achieve a high-quality color grade for their footage.