Nodes In Davinci Resolve
DaVinci Resolve 18 is a video editing and color correction software that includes a feature called “nodes.” Nodes are used to create a series of effects and adjustments to your video in a non-destructive way. There are several types of nodes in DaVinci Resolve 18, including:
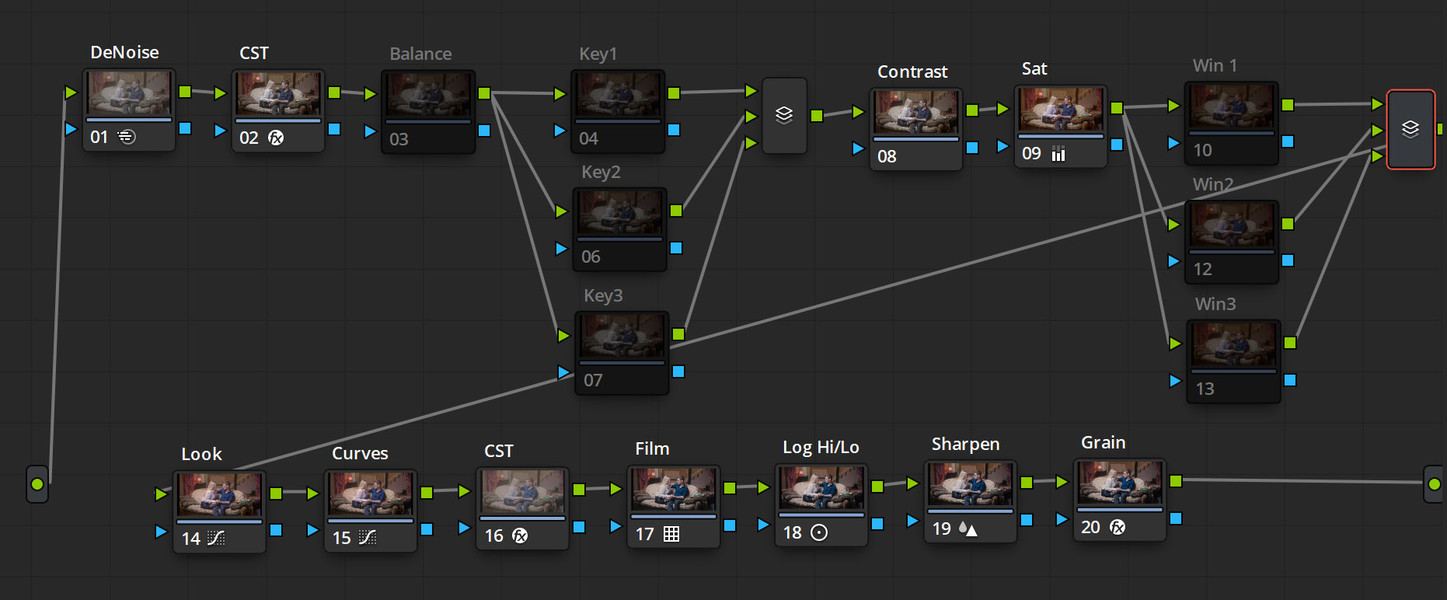
Input Node: This is the first node in your node tree and serves as the starting point for your adjustments.
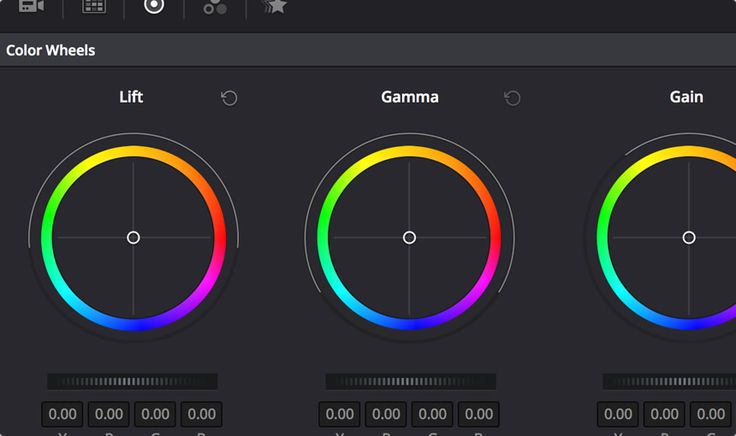
Color Correction Node: This node is used to adjust the color and exposure of your video.
Transform Node: This node is used to adjust the position, rotation, and scale of your video.
Keyer Node: This node is used to isolate specific colors or regions of your video to make adjustments to only those areas.
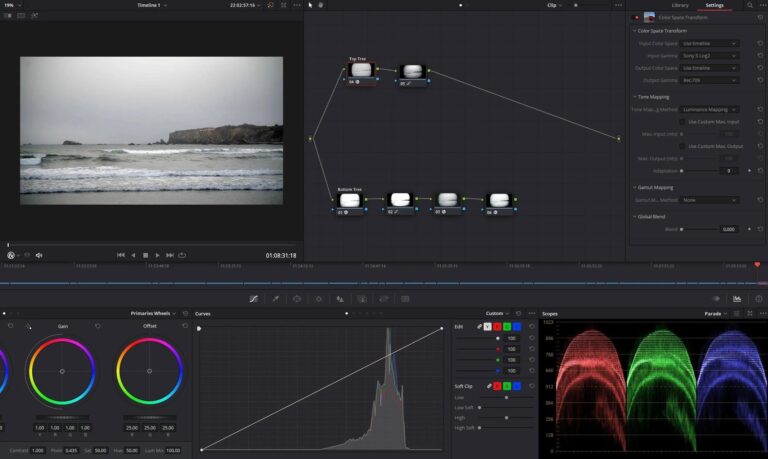
Merge Node: This node is used to combine multiple nodes together to create a final image.
Output Node: This is the last node in your node tree and serves as the final output of your adjustments.
To use nodes in DaVinci Resolve, you can follow these steps:
Open your project in DaVinci Resolve and select the clip you want to work on.
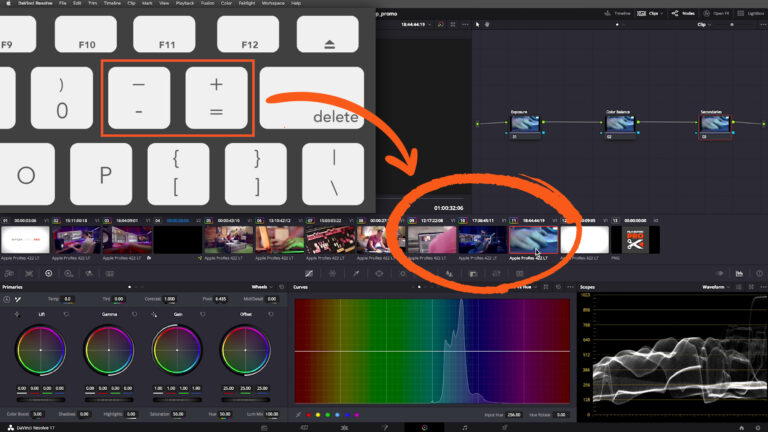
Go to the “Color” tab and click on the “Node” button in the top right corner to create a new node tree.
Add a node by clicking on the “Add Node” button in the top right corner of the screen. You can choose from different types of nodes, such as Color Correction, Transform, or Keyer.
Make adjustments to the node using the controls in the Inspector panel on the right side of the screen. For example, you can adjust the color balance, exposure, or position of your video.
Repeat steps 3 and 4 to add and adjust multiple nodes as needed.
To combine multiple nodes together, you can add a “Merge” node and choose how you want to combine the nodes, such as “Over,” “Under,” or “Screen.”
Finally, add an “Output” node to serve as the final output of your adjustments.
Keep in mind that you can also use the “Power Windows” and “Tracking” feature to isolate specific regions of your video and apply different adjustments to them. This feature allows you to create masks and track them over time.
And also, consider that you can create different grades on different nodes and then use the “Shot Match” feature to match the grades of different shots in the same timeline, this way you can save a lot of time.